 how-to
7 Steps to Convert an Arcade to a Full Entertainment Center
Last Updated: October 25, 2026
Quick Summary
An arcade conversion starts with measuring the room and mapping traffic flow before you buy anything, then moves through a business plan, startup costs, a feasibility study, layout planning, electrical safety, and media integration. Leave at least 36 inches for main walkways and keep 48 inches clear around emergency exits.
- Record length, height, and the location of every outlet, vent, and window for each wall.
- For arcade play, look for roughly 10 milliseconds of input lag or less in game mode.
- Build your startup estimate in four buckets: build-out, equipment, compliance, and soft costs.
- Commission the feasibility study before you sign a long lease on the space.
- Mount the television at seated eye level, about 40 to 48 inches off the floor.
Table of Contents
- Step 1: Plan Your Arcade Conversion and Entertainment Center Layout
- Step 2: Build Your Family Entertainment Center Business Plan
- Step 3: Set Realistic Family Entertainment Center Startup Costs
- Step 4: Commission a Family Entertainment Center Feasibility Study
- Step 5: Master Family Entertainment Center Layout Planning
- Step 6: Install Wiring, Ventilation, and Electrical Safety for Your Arcade Conversion
- Step 7: Integrate Consoles, Streaming, and Audio in Your Entertainment Center
- Request a Consultation to Validate Your Arcade Conversion Plan
- Frequently Asked Questions
Step 1: Plan Your Arcade Conversion and Entertainment Center Layout
An arcade conversion starts with a tape measure, not a shopping cart. At Turfway Entertainment, we have watched owners skip planning and pay for it later with cramped layouts, blocked exits, and displays at the wrong height.
Start by writing down what the room must do: birthday parties, league nights, or casual walk-in play. Each answer changes your floor plan.
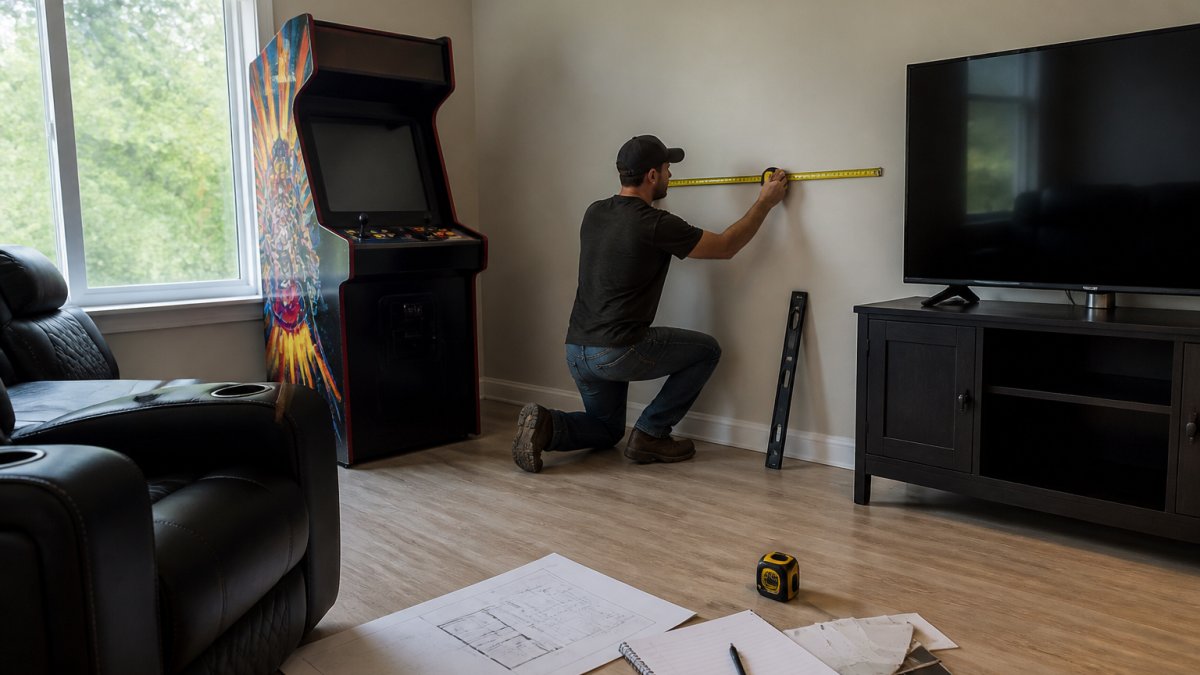
Measure the Room and Map Traffic Flow
Record length, height, and the location of every outlet, vent, and window for each wall. Sketch the room on graph paper and mark door swings.
Then walk the guest path, enter, buy a card, find a game, find a restroom, and make sure it never crosses the service counter or squeezes past a cabinet.
Keep these rules in mind:
- Leave at least 36 inches for main walkways
- Keep 48 inches clear around emergency exits
- Group loud games away from party rooms
Choose Between a Monitor and a Television
A monitor is built for close viewing and fast response; a television for distance, size, and built-in streaming apps.
Input lag and response time. For arcade play, look for roughly 10 milliseconds of input lag or less in game mode; many budget televisions never get below about 20 milliseconds. Response time, 1 ms to 5 ms on gaming monitors, 8 ms to 15 ms on budget televisions, affects motion blur. Neither number is printed on the box, so check the spec sheet or a reputable review.
Viewing distance and screen size. A common rule of thumb is 1.5 to 2.5 times the diagonal for movies and console play, and roughly 1 to 1.5 times for arcade play at the control panel. A 32-inch monitor works at about 3 to 4 feet; a 55-inch television wants about 7 to 9 feet.
Aspect ratio and resolution. Most arcade boards output 4:3 or 16:9.
Surface finish and brightness. Matte cuts glare from overhead lights and nearby screens; glossy looks sharper in a dark room but reflects every light source.
| Factor | Monitor | Television |
|---|---|---|
| Best for | Arcade play, fast games | Movies, sports, consoles |
| Typical size | 24-32 inches | 43 inches and up |
| Input lag | Often 10 ms or less in game mode | Higher on budget models; check game mode |
| Response time | Commonly 1-5 ms | Commonly 8-15 ms on budget sets |
| Built-in apps | Rare | Common |
| Viewing distance | Close (about 1-1.5x diagonal) | Across the room (about 1.5-2.5x diagonal) |
| Aspect ratio fit | Often 4:3 or 16:9 | Almost always 16:9 |
If your build must do both jobs, use two screens: a monitor at the cabinet for the player and a television for the room. That split also solves the aspect-ratio problem, the monitor stays at 4:3 for classic games while the television handles 16:9.
Bezel, glass, and sightlines. Mock up the display in the cabinet with cardboard before you cut anything.
For the full roadmap beyond this single project, our guide on how to open a family entertainment center shows where an arcade conversion fits into a larger launch plan.
Step 2: Build Your Family Entertainment Center Business Plan
A family entertainment center business plan turns a fun idea into a fundable project.
Include these sections:
- Concept and target guest
- Local market and competition
- Floor plan and capacity
Be honest about seasonality: birthday parties spike on weekends while weekday mornings sit quiet. Show how memberships, field trips, and corporate events fill those gaps.
If you need help shaping or stress-testing the document, business plan consulting for entertainment facilities walks through the structure lenders expect to see.
Step 3: Set Realistic Family Entertainment Center Startup Costs
Family entertainment center startup costs usually surprise first-time owners in one place: the extras. Cabinets and screens are the easy line items; permits, electrical upgrades, flooring, signage, insurance, and working capital are where budgets break.
Build your estimate in four buckets:
- Build-out: demolition, framing, electrical, flooring, paint
- Equipment: cabinets, displays, consoles, audio, furniture
- Compliance: permits, inspections, fire suppression, accessibility work
- Soft costs: legal, accounting, insurance, training, marketing
Then add a contingency reserve, a percentage of the total held back for surprises, because old arcade buildings almost always hide a few.
Our guide to FEC startup budget contingency planning explains how to size that reserve and when to release it.
Step 4: Commission a Family Entertainment Center Feasibility Study
A family entertainment center feasibility study answers one question: will this venue make money in this location? It covers demographics, competitor supply, pricing, and projected attendance.
Commission the study before you sign a long lease. It is far cheaper to walk away from a bad site than to remodel one.
A solid study includes:
- Trade area population and household income
- Age mix and family density
- Existing venues and their pricing
Two resources help here. Our guide on how to write a feasibility study for an FEC covers the sections and data sources. If you are budgeting for the work itself, feasibility study cost and timeline explains what drives the price and how long it takes.
Step 5: Master Family Entertainment Center Layout Planning
Family entertainment center layout planning sets each cabinet's size, every control panel's height, and every cable's path. Get these wrong and guests feel it in their wrists and backs before they notice the games.
Cabinet Size, Control Panels, and Comfort
A bartop arcade suits small rooms and low traffic; a full-sized cabinet suits a commercial floor where guests play for long stretches. A custom build matches the cabinet to the room instead of the other way around.
Control panel height matters more than most owners expect: too high tires the shoulders, too low makes guests hunch. Test with real people of different heights before you lock the design.
- Joystick: pick one style and stay consistent across machines
- Buttons: use a standard layout so guests do not relearn each cabinet
- Multiple control panels: useful for four-player games, but they eat floor space
Cable Management and Storage
Plan storage before cables: a locked closet for spare parts, tools, prizes, and cleaning supplies, plus a route for every cable that keeps it off the floor.
Run cables through conduit or raceway. Label both ends. Leave a service loop behind each cabinet so you can pull a machine out without unplugging the room.
Watch out: skipping cable management feels fine on day one and becomes a tripping hazard and a repair nightmare by month three.
Step 6: Install Wiring, Ventilation, and Electrical Safety for Your Arcade Conversion
Electrical safety and heat management decide whether your arcade conversion lasts. Old cabinets, new screens, and consoles all draw power and produce heat, often in a room never designed for either.
Follow these steps:
- Map every circuit and confirm the load before you plug anything in
- Give each bank of machines its own circuit where possible
- Use ground-fault protection near any water or food area
Have a licensed electrician review the plan. The National Fire Protection Association publishes the electrical and fire codes your inspector will apply, and local amendments can be stricter.
Step 7: Integrate Consoles, Streaming, and Audio in Your Entertainment Center
The final step turns a room of games into a true entertainment center, where a television, streaming devices, speakers, and consoles join the arcade floor. Plan the media zone as its own area with its own power, signal, and airflow plan.
Plan the Media Zone Layout
Mount the television at seated eye level, for a typical sofa, the center of the screen about 40 to 48 inches off the floor. Tilt is rarely needed if the height is right; a tilted screen looks wrong from the side and strains necks over time.
Leave at least 4 inches of clearance behind the television and 2 inches on each side for ventilation. Televisions and consoles both generate heat, and a tight cabinet turns into an oven. If the television sits in a built-in cabinet, cut vents at the top and bottom of the enclosure so air can move.
Route Power and Signal
Give the media zone its own circuit or share one only with low-draw devices.
Use a surge protector with a rated joule value rather than a plain power strip. Plug the television, console, streaming device, and audio gear into it, and label each plug so you can troubleshoot without pulling everything out.
For signal, run one HDMI cable from each source to the television or to an HDMI switch.
Choose and Route Audio
Run audio through one system, not three. The simplest path is a soundbar or small receiver with HDMI ARC (Audio Return Channel), which sends audio back to the speaker over the same HDMI cable.
Keep the arcade audio separate from the media audio. Arcade cabinets have their own speakers, and mixing them into the room system makes both sound worse.
House Consoles and Streaming Devices
Consoles need airflow, a closed cabinet with no vents will overheat one within an hour of play.
Keep controllers charged and stored in one spot. A labeled bin or drawer near the television prevents the “where is the controller” delay that kills a console night.
Streaming devices (sticks and boxes) run hot and need line of sight for their remotes.
Connect the Network
Streaming and console updates need reliable internet. Run an Ethernet cable to the media zone if the building allows it; a wired connection beats Wi-Fi for streaming stability and console downloads. If wiring is not possible, use a mesh Wi-Fi node near the media zone rather than relying on a distant router.
Test Everything Start to Finish
Power on the arcade board, load a game, switch to the console, stream a video, and run the audio. Then do it again in the order a guest would: walk in, play an arcade game, sit down for a console game, and switch to a streaming show. Fix weak links now, before opening day.
A quick checklist before you open:
- Every circuit labeled and tested
- Displays set at the right height and angle
- Cables secured and labeled
Request a Consultation to Validate Your Arcade Conversion Plan
An arcade conversion carries real risk: money tied up in build-out, a layout that misses the mark, and a plan a lender will not back. Turfway Entertainment helps you catch those problems before they cost you. We guide new and established operators through concept creation, feasibility studies, operational health checks, and staff training, with one goal: minimize risk and maximize profitability.
Get started with Turfway Entertainment and build an entertainment center your guests return to.
Frequently Asked Questions
How do you turn an arcade into a family entertainment center?
Start with a feasibility study and business plan, then plan the layout with clear zones for arcade cabinets, a television area, and seating. Budget for startup costs including cabinetry, wiring, and signage. Build or modify the cabinet structure, install the display, and integrate consoles and streaming devices. Address ventilation and electrical safety before opening. A consultant can help sequence these steps and avoid costly rework.
What attractions can you add to an existing arcade?
Common additions include a television lounge with streaming and consoles, a party room for group events, a small food and beverage counter, and redemption or prize areas. You can also add a photo booth, VR station, or dedicated retro game section. Each addition should fit your family entertainment center layout planning and budget, and you should confirm local permits and safety requirements before building.
How much space do you need for a family entertainment center?
Space needs vary by attraction mix. A small arcade conversion might use 1,500 to 3,000 square feet, while a fuller family entertainment center with party rooms and food service often needs 8,000 to 15,000 square feet or more. Focus on traffic flow, cabinet dimensions, and seating when planning. A feasibility study can confirm how much space your target revenue requires.
How long does it take to convert an arcade into a full entertainment center?
A modest arcade conversion can take 8 to 16 weeks from planning to opening, depending on permits, construction, and equipment lead times. Larger projects with food service or major structural changes often run 6 to 12 months. The timeline depends on your family entertainment center startup costs and how quickly you complete the feasibility study, business plan, and build phases.